Clonezilla Live CDs
This method is fast, reliable and OS independent as it uses live CDs.
- Now, boot the physical host with Clonezilla, go for beginner mode and select device — device and then remote, just follow the wizard
- On the Proxmox VE host, prepare a KVM guest, make sure you got a big enough IDE disk assigned (add 1 GB extra to be on the safe side) and also boot this KVM guest with the live CD and execute a shell.
- Become root and run fdisk (fdisk /dev/sda/) to make sure that sda is here, exit fdisk with ‘w’. this was essential.
- Now enter all commands from the wizard on the source server tells you (configure network and request the copy process)
- After success (the wizard just copies the data, means I got a 80 GB disk but only 5 GB data on it so it was just a few minutes for the whole process on a gigabit network) just change the boot device to the hard disk and start the VM. Windows will install all needed drivers automatically, just the Intel NIC drivers for e1000 must be loaded from ISO (I got one big driver ISO from Intel containing all NIC drivers).
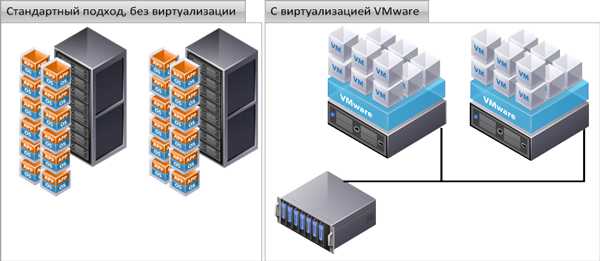
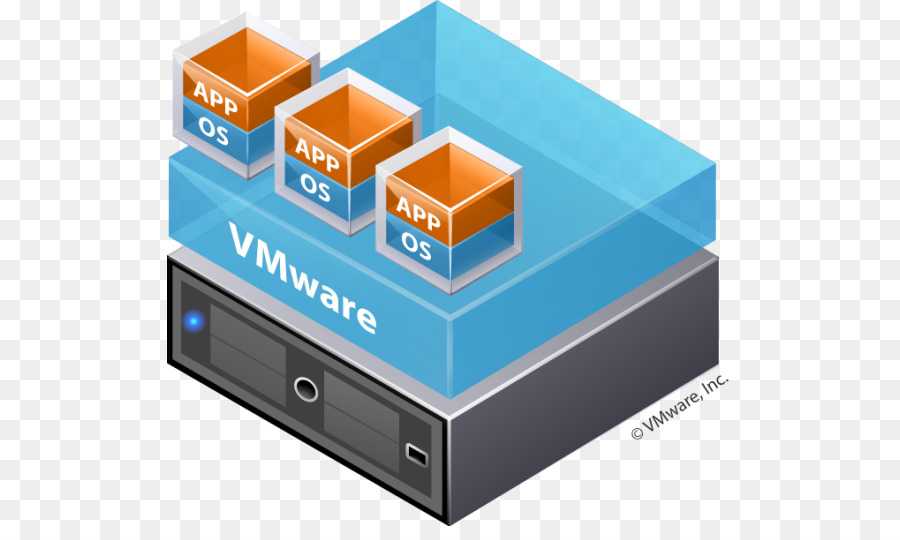
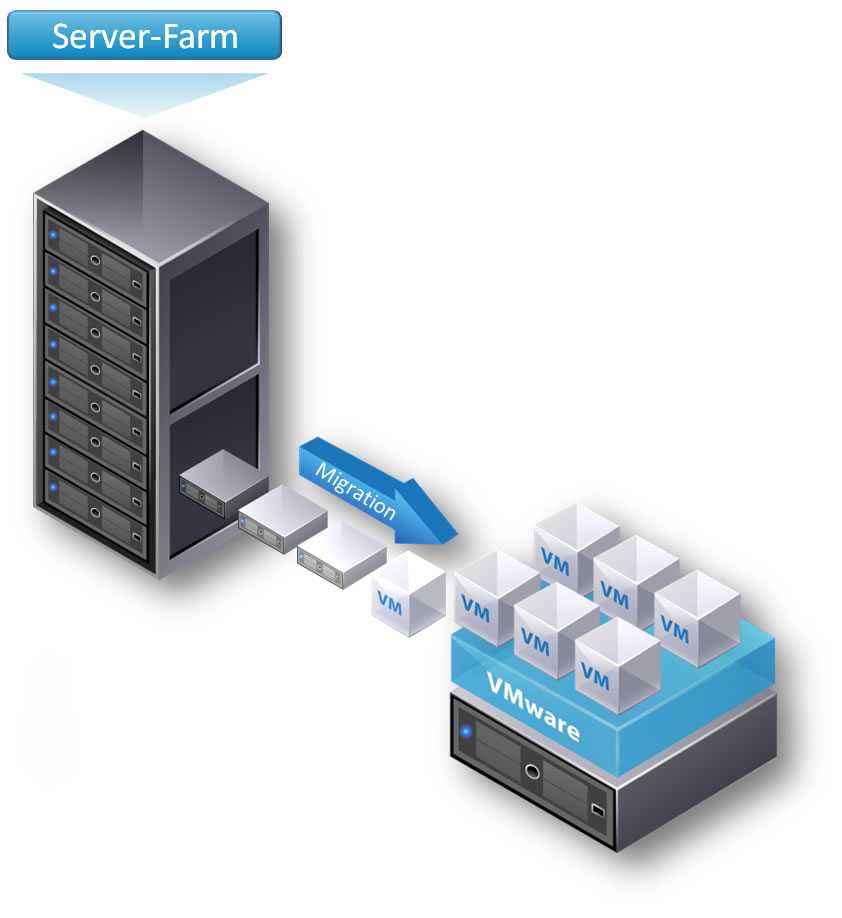
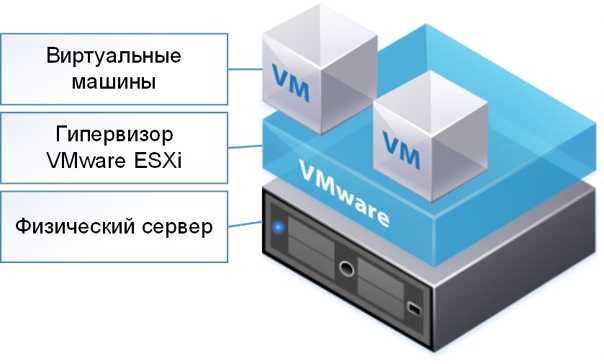
VMware
This explains the migration from a VMware ESXi 6.7 hypervisor to Proxmox VE 6.1. It is tested with guests with the following operating systems:
- Debian 10
- Windows 10 Pro
- Windows Server 2016 Standard
Exporting
GUI
In VMware ESXi navigate to your virtual machine in the tree on the left.
Choose Actions->Export.
This will download disk images and information about your virtual machine in the .ovf format in the browser.
Move those files to a storage that is accessible by your Proxmox VE host.
CLI
Remove any attached disk or ISO from your ESXi VM and run
ovftool vi://root@<ip-of-esxi>/<name-of-a-virtual-machine> .
to export a virtual machine from ESXi directly into your current directory.
You can replace the dot with any other path, for example «/mnt/pve/<some-storage>».
This way you can export directly to a storage that you created in Proxmox VE.
| Note: You have to extract .ova archives |
With some configurations you get a single (.ova) archive file that contains all .vmdk disk images and the small XML description .ovf file. If this is the case, then you have to extract it before you continue with .
Importing
Go to the command line interface of Proxmox VE.
Use the command to import the virtual machine. For example:
qm importovf 200 /tmp/exported-vm.ovf local-lvm
| Note: Windows guests require a few additional steps |
If your guest is Windows, you additionally have to execute the following commands. This example assumes that your imported virtual machine has the ID 130.
Use UEFI instead of BIOS for the virtual machine.
qm set 130 --bios ovmf
Windows requires additional drivers to use SCSI. Therefore, use IDE instead for the moment.


sed -i 's/scsi/sata/g' /etc/pve/qemu-server/130.conf
This gives you a first working version. You can then improve your experience by installing additional drivers as explained in Windows 10 guest best practices.
Server self-migration
It is also possible to migrate without the need to export each VM separately including virtual disks.
This way, you can convert a server from vSphere to Proxmox VE without the need of a second server.
For this process your vSphere should use VMFS6 and you need at least one empty HDD.
1. Export the VM information without the disks using ovftool (you still need to configure the network configuration for each VM).
ovftool -NoDisks vi://root@<ip-of-esxi>/<name-of-a-virtual-machine> .
2. Install Proxmox VE on some disk that does not contain any important data. You don’t need vSphere anymore at this point. If you have an OS disk with only vSphere on it, then you can now overwrite it with Proxmox VE.
| Warning: Do not use/touch any other existing drives which are VMFS formatted |
3. Create a directory on the above mention spare HDD.
4. Install vmfs6-tools which you need to mount (ready-only) the VMFS-formatted drives with the vSphere virtual disks.
apt install vmfs6-tools -y
5. List all available drives to identify the VMFS formatted ones
fdisk -l
6. Mount the VMFS disk partition (note it is read only)
vmfs6-tool /dev/<device><partition>
7. Convert the vSphere disk to a suitable format for Proxmox VE
qemu-img convert -f vmdk <path to your vmdk file>.vmdk -O <raw/qcow2> <path to your empty directory>.raw/qcow2 -p
8. While the conversion is in progress you may create the 1st VM from ovf
qm importovf 200 /tmp/exported-vm.ovf
9. As soon as the conversion is finished you may mount the new Proxmox VE disk image to the VM.
qm rescan
If all VM images have been moved away from a VMFS6 disk, you can format it and use it at Proxmox VE
Enable the IOMMU
First open your bootloader kernel command line config file.
For GRUB:
nano /etc/default/grub
Find the line with «GRUB_CMDLINE_LINUX_DEFAULT»
For systemd-boot:
nano /etc/kernel/cmdline
Its format is a single line with options. You can create the file for systemd-boot if not present.
Intel CPU
For Intel CPUs add
intel_iommu=on
GRUB
If you are using GRUB:
GRUB_CMDLINE_LINUX_DEFAULT="quiet intel_iommu=on"
Then save the changes and update grub:
update-grub
systemd-boot
If you use systemd-boot, add the following at the end of the first line:
quiet intel_iommu=on
Then save the changes and update systemd-boot:
proxmox-boot-tool refresh
AMD CPU
For AMD CPUs add
amd_iommu=on
GRUB
If you are using GRUB:
GRUB_CMDLINE_LINUX_DEFAULT="quiet amd_iommu=on"
Then save the changes and update grub:
update-grub
systemd-boot
If you are using systemd-boot, add the following at the end of the first line:
quiet amd_iommu=on
Then save the changes and update systemd-boot:
proxmox-boot-tool refresh
Verify IOMMU is enabled
Reboot, then run:
dmesg | grep -e DMAR -e IOMMU
There should be a line that looks like «DMAR: IOMMU enabled». If there is no output, something is wrong.


This enables the IOMMU translation only when necessary, and can thus improve performance for PCIe devices not used in VMs.
Проброс USB-портов
Необходимо определить к какому именно порту подключено нужное нам устройство.
Первый способ:
# lsusb -t
/: Bus 04.Port 1: Dev 1, Class=root_hub, Driver=xhci_hcd/6p, 5000M
/: Bus 03.Port 1: Dev 1, Class=root_hub, Driver=xhci_hcd/15p, 480M
 |__ Port 4: Dev 2, If 0, Class=HID, Driver=usbhid, 1.5M
 |__ Port 7: Dev 3, If 0, Class=HID, Driver=usbfs, 12M
 |__ Port 8: Dev 4, If 0, Class=HID, Driver=usbfs, 12M
/: Bus 02.Port 1: Dev 1, Class=root_hub, Driver=ehci_hcd/3p, 480M
 |__ Port 1: Dev 2, If 0, Class=hub, Driver=hub/8p, 480M
/: Bus 01.Port 1: Dev 1, Class=root_hub, Driver=ehci_hcd/3p, 480M
 |__ Port 1: Dev 2, If 0, Class=hub, Driver=hub/6p, 480M
Как позже выяснилось, нужные мне устройства сидят на шине 3, порты 7 и 8. Но пока нам это не очевидно и вот вариант второй:
qm monitor <VM_ID>
qm> info usbhost
 Bus 3, Addr 4, Port 8, Speed 12 Mb/s
 Class 00: USB device 051d:0002, Back-UPS XS 650CI FW:892.R2.I USB FW:R2
 Bus 3, Addr 3, Port 7, Speed 12 Mb/s
 Class 00: USB device 051d:0002, Back-UPS XS 650CI FW:892.R2.I USB FW:R2
 Bus 3, Addr 2, Port 4, Speed 1.5 Mb/s
 Class 00: USB device 046d:c00c, USB Optical Mouse
Тут мы наглядно видим кто есть кто. И теперь смело:
# nano /etc/pve/qemu-server/101.conf
usb0: host=3-7
Для полноты картины, дополню инструкцию примером из официальной документации.
Возможен такой вариант:
qm monitor <VM_ID>
qm> info usbhost
 <span style="color: #ff0000;">Bus 3</span>, Addr 2, <span style="color: #ff0000;">Port 1.2</span>, Speed 1.5 Mb/s
 Vendor Specific: USB device 0529:0001, HASP 2.17
тогда в файле конфигурации ВМ надо писать следующим образом:
usb0: host=3-1.2
Теперь, зная все варианты, можем использовать тот, который лучше под текущую ситуацию.
Проброс портов (Port forwarding)
Далее, если необходимо пробросить определенные порты на нужные виртуальные машины. Это можно сделать с помощью iptables:
iptables -A PREROUTING -t nat -i vmbr0 -p tcp -d %ext_ip_on_vmbr0% – dport %ext_port% -j DNAT – to %int_ip_on_vmbr1%:%int_port%
Где
%ext_ip_on_vmbr0% — внешний IP-адрес, который находится на vmbr0 . Если не указать этого параметра, то порт будет пробрасываться со всех адресов на этом бридже.%ext_port% — внешний порт по которому будут обращаться к серверу из интернета.%int_ip_on_vmbr1% — внутренний IP виртуальной машины на vmbr1 .%int_port% — внутренний порт, на котором будет работать сервис в виртуальной машине.


Ну и после применения правил для нужных портов можно посмотреть все ли правильно:
# iptables -L -t nat
Chain PREROUTING (policy ACCEPT)
target prot opt source destination
DNAT tcp – anywhere xxx.yyy.ru tcp dpt:33122 to:192.168.1.2:22
DNAT tcp – anywhere xxx.yyy.ru tcp dpt:33222 to:192.168.1.3:22

Chain OUTPUT (policy ACCEPT)
target prot opt source destination

Chain POSTROUTING (policy ACCEPT)
target prot opt source destination
MASQUERADE all – 192.168.1.0/24 anywhere